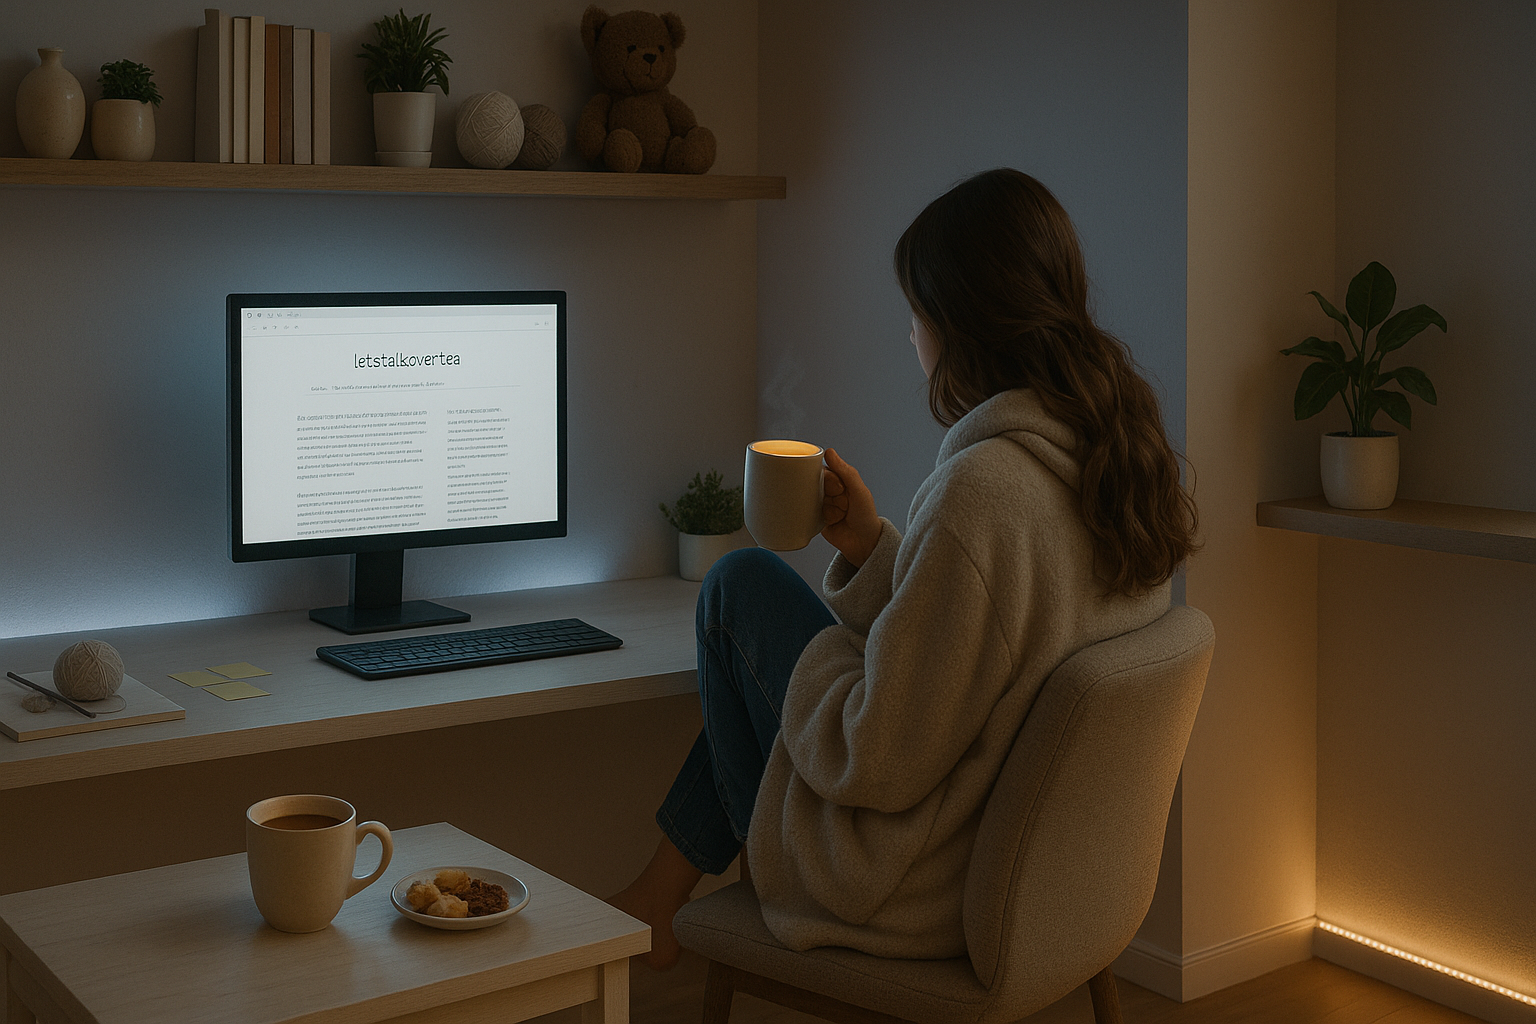
I have been crocheting since I was a kid, but like many hobbies, I left it behind as I grew older. Recently, I picked it up again and made myself a jacket perfect for spring or fall. Since I have both past experience and a fresh perspective as someone who just got back into it, I feel like I have a good idea of what your first crochet project should be like.
In this post, I will walk you through:
- Choosing the design
- Measuring your dimensions
- Choosing the right materials (yarn types and gauges)
- Planning your project
- And finally, getting started with crocheting
Note: This blog is written as a story about how I created my own jacket/cardigan. What you will see is the final result of that journey.
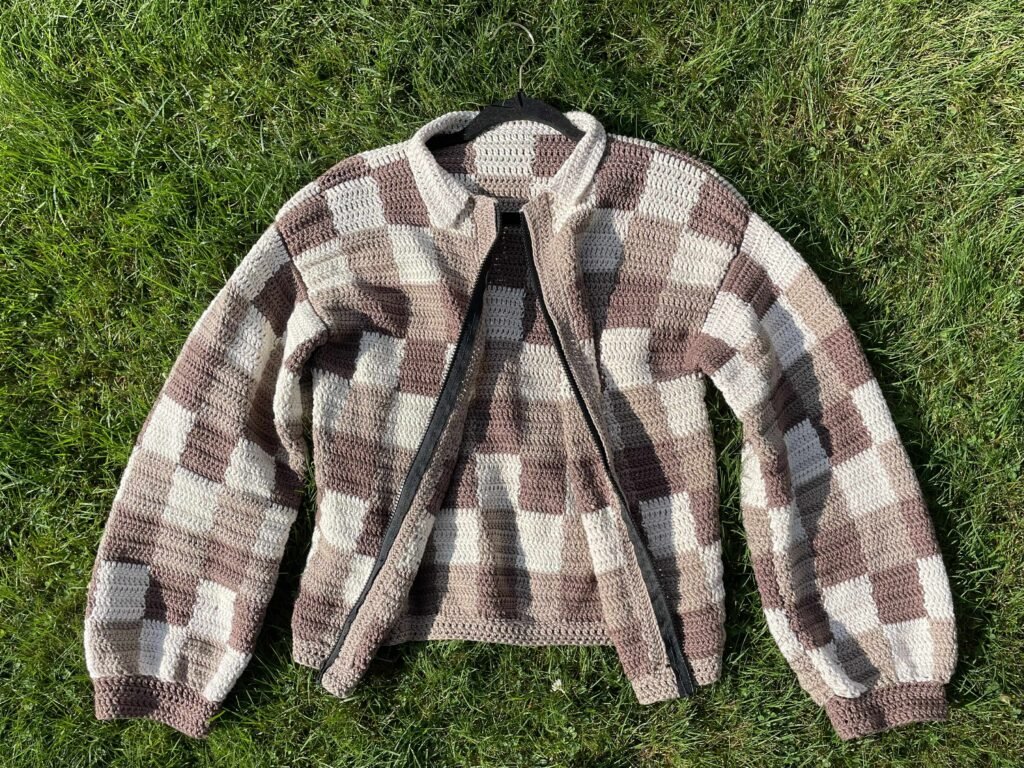
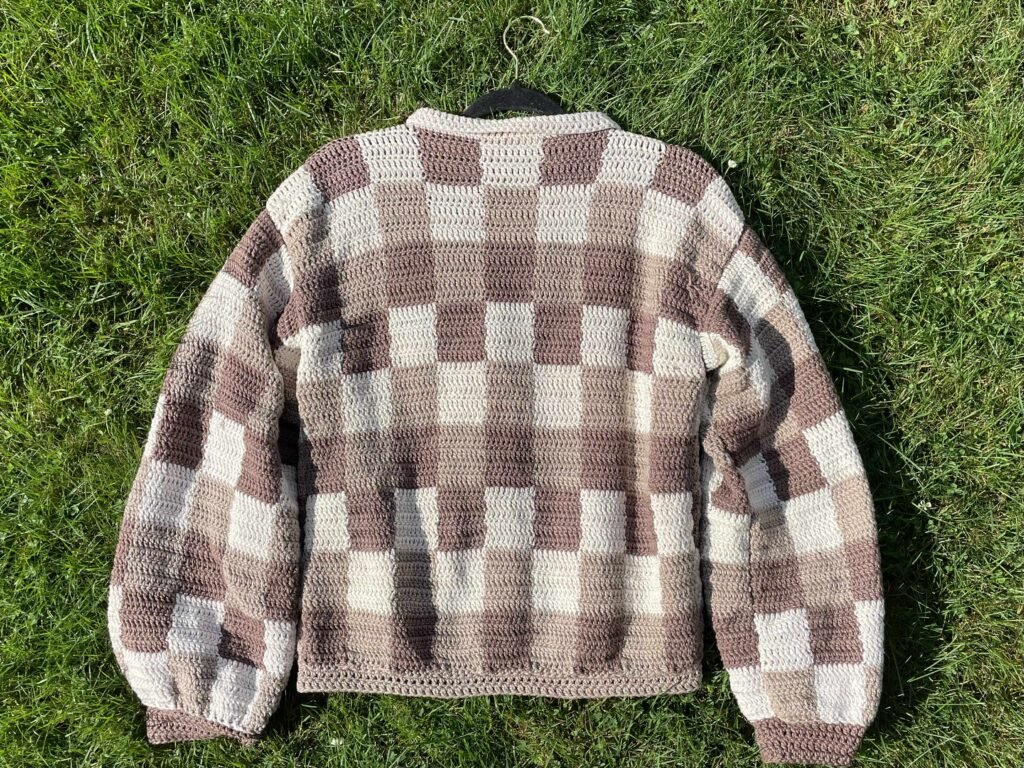
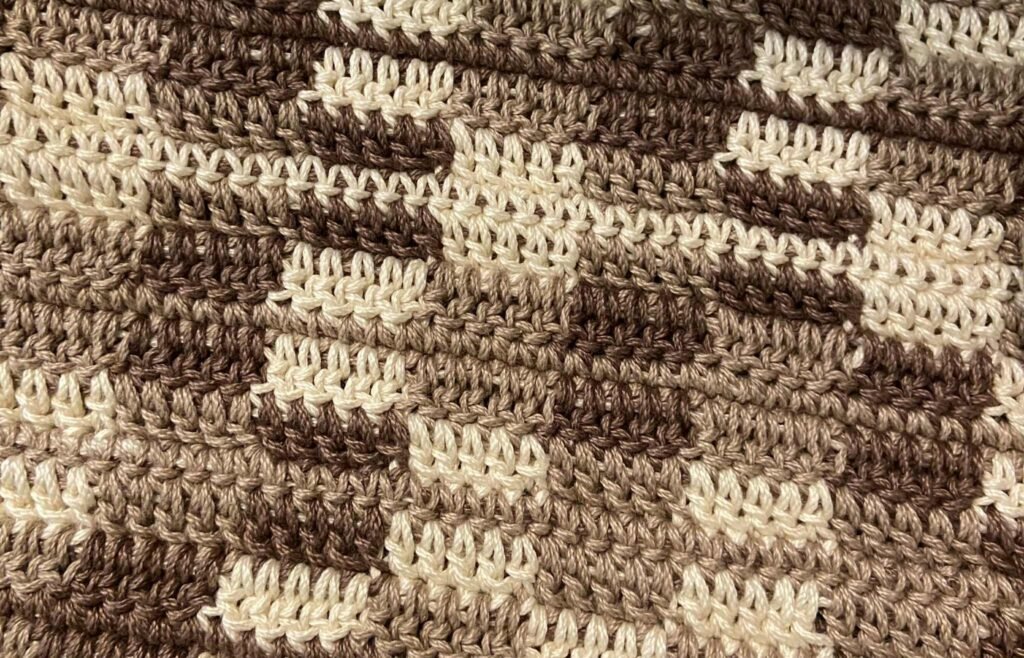
Here is what I made:
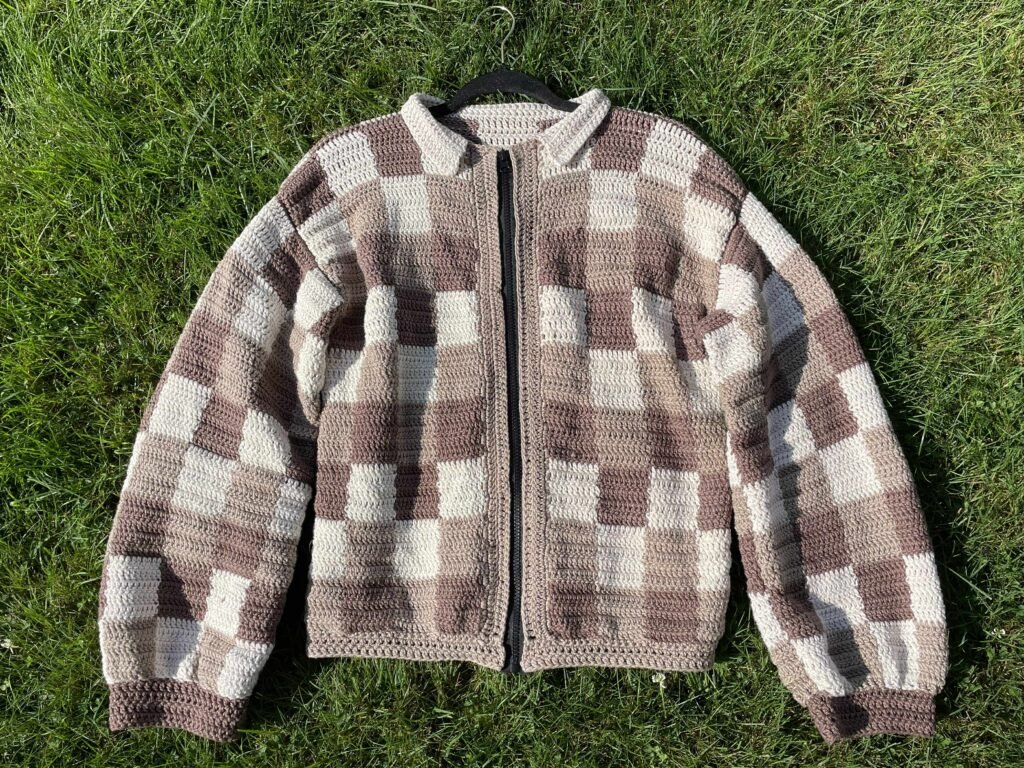
Choosing the design
The first thing I thought about was the season I wanted to wear my crochet piece. I personally like to stay warm, so I chose a jacket/cardigan as my first project back.
I actually encourage beginners to start with something big too. It might sound counterintuitive, but hear me out—most people never wear their first project because it usually has little mistakes, which is totally normal. But if you go for something larger like a sweater or jacket, you get to try out all the techniques you will need in future projects. So even if the first one is not perfect, the next ones will be much more wearable.
After I decided on a jacket, I turned to Pinterest and social media for inspiration. I ended up creating my own design instead of following an existing pattern. If you are new to crochet, I highly recommend following a pattern or at least having a very detailed plan.
Tip: If you decide to freehand your design like I did, try sketching it out first. I learned this the hard way. I used to just start crocheting without a plan, which led to a lot of back-and-forth and restarting. For instance, halfway through this jacket, I realized the colors were too loud for my taste, so I had to start all over again with a different style.
This is what I had before (and I had already made front and back parts):
measuring the dimensions
This step is one of the most important. In crochet, it is not always easy to undo parts. Sometimes you need to restart a whole section since it is made from a continuous strand of yarn.
For the jacket I made, I made the bottom and front pieces about ten centimeters longer than my waist. I wanted an oversized look. The sleeves were trickier. I redid them several times because I wanted them oversized but not too loose.
To avoid having to redo sections repeatedly, I used a simple trick. I crocheted two or three rows, then tried the piece on to see how it looked and felt.
It is really important to try on every part of the clothing as you go. There is no universal measurement that works for everyone. Even if you follow a pattern or tutorial, your body is unique and your results will vary. Also, different yarns and hook sizes create different fits, even when using the same pattern.
Getting the material
Choosing your materials is just as important as your design. You should think about the brand, the season, the yarn weight, and the yardage.
season
Select yarns that match the season you plan to wear the piece in. Her is my favorite yarn materials for each season:
- Summer: breathable and absorbent materials
- Silk, Linen, Cotton..
- Winter: very warm and stretchy materials
- Wool, Alpaca…
- You can do some blends too
- Fall/Spring: some part of summer and winter, where you do not want to be too hot or too cold
- Linen, Cotton, Silk, Wool, Alpaca… blends
brands
Even if two brands claim to sell 100% cotton yarn, they can feel and behave very differently. I have used yarn from many different companies, but the ones I find reliable and widely used include:
• Lion Brand (especially Coboo and 24/7 Cotton)
• Knit Picks
• Hobbii
• Knitting for Olive
• Cascade Yarns (great for winter socks)
There are many more out there, so before buying anything, take time to research. I like to watch videos of people using the yarn to make garments similar to what I want. If you skip this step, you might end up with yarn that feels rough, irritates your skin, or simply does not suit your project. Some yarns are stretchy, like nylon, and others are very flowy, which may not work well for items like sweaters.
Sizes
Yarn labels usually list the recommended hook size and total length. Think carefully about the kind of clothing you want to make and make sure you buy enough yarn.
For my jacket, I chose Lion Brand 24/7 Cotton. I checked their website and found the recommended amount for a sweater, which is similar to a jacket. A slightly oversized sweater required about 1000-15000 meters of yarn using a 3-4mm hook. Each skein I bought had about 180 meters, so I purchased 9 in total.
The smaller the hook size, the more yarn you might need. This is because smaller hooks create tighter stitches with fewer holes. I usually go with a three or four millimeter hook since I prefer a more solid and neat look.
Planning out
If you are following a pattern, you can skip this part. But if you are designing something yourself, planning is key. Without a plan, your final piece might look unbalanced or uneven.
For my jacket, I started with the waist. I find that the waist sets the base for the whole piece. If the waist is wide and the sleeves are too thin, the entire piece looks awkward. Once I finished the waist and front panels, I moved on to the sleeves.
In general, it helps to begin with the largest part of the garment and build from there. That is usually the waist or the hips.
Starting crocheting
This is the most exciting and time-consuming part. Now you get to actually crochet.
There are many stitch types to explore. You can watch tutorials or follow patterns to learn them. I mostly used single and double crochet (the basics). My favorite is double crochet because it works up quickly and produces fewer holes. It is similar to single crochet but adds a step that helps speed things up.
final thoughts
DO NOT worry if your first piece does not turn out perfectly or even wearable. It is your first time. Mistakes are part of the process, and your vision will almost always differ slightly from reality.
Still, try your best to make something you like. Not for perfection, but for personal satisfaction. You will probably redo the same section more than once. I spent two weeks on this jacket because I kept changing things until I was happy with the outcome.
I have faced the same frustrations and so have my friends. You are not alone. Just enjoy the process and have fun with it.
Materials used
Lion Brand Yarn Lightweight 24/7 Cotton – Ecru
Lion Brand Yarn Lightweight 24/7 Cotton – Taupe
Lion Brand Yarn Lightweight 24/7 Cotton – Café Au Lait
3mm Hook
Leave a Reply